Set Automation Kill Switches Before Enabling Workflows
Configure SophMate automation kill switches and ownership rules before enabling workflows that can affect WooCommerce or WordPress operations.
Configure SophMate automation kill switches and ownership rules before enabling workflows that can affect WooCommerce or WordPress operations.
By the end of this tutorial, you will know how to use SophMate for WordPress automation kill switches while keeping the work reviewable inside WordPress.
An operations lead has tested a workflow and wants to enable it on a live store without losing the ability to pause categories of automation.
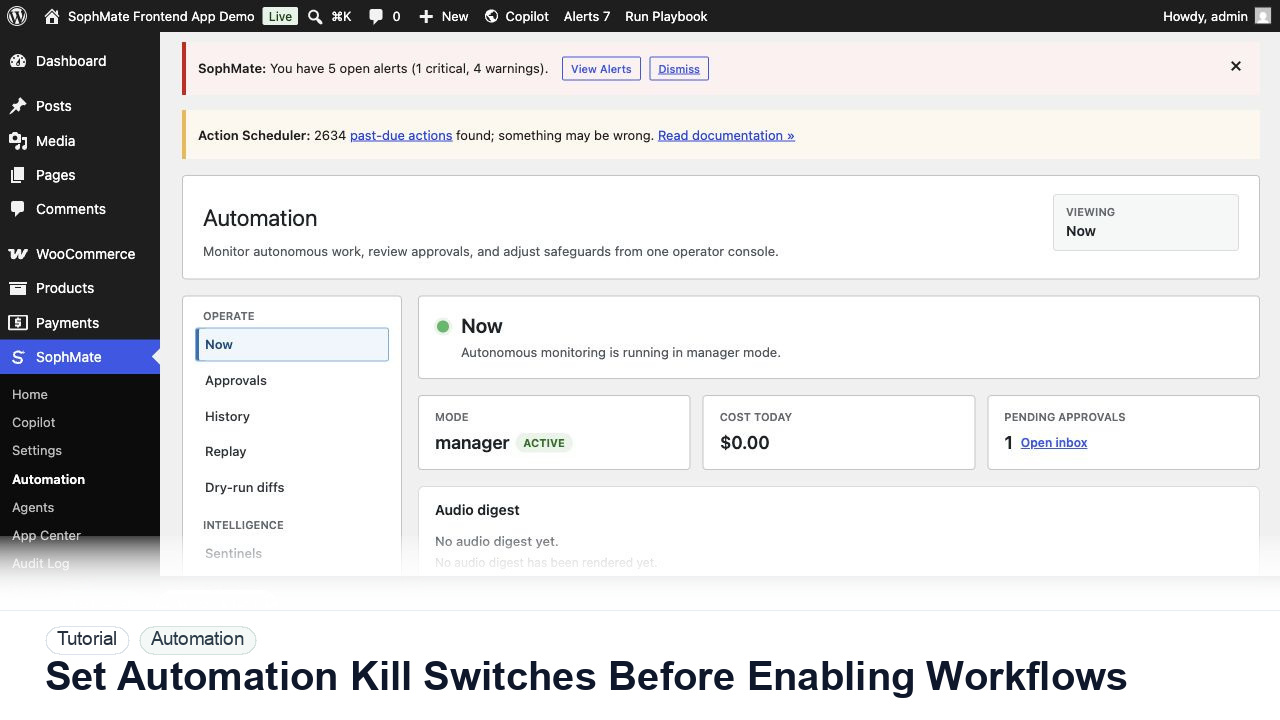
The tutorial image shows SophMate Automation context where active tasks, activity, audio digest controls, and category kill switches are reviewed before production rollout.
Use staging, kill switches, approval gates, and narrow production scope before enabling automation that can affect customers, products, content, or settings.
Open SophMate > Automation and identify which categories can run: commerce, content, support, marketing, system, image, or agent workflows.
Assign an administrator or operations owner who can pause a category quickly when alerts, failed runs, or unexpected outputs appear.
Allow summary and notification workflows first. Keep write actions approval-gated until run history proves the workflow is predictable.
Use the activity ledger and alert surfaces to verify the workflow has not created repeated errors, high cost, or stale pending approvals.
Write down what happens when the kill switch is triggered and how the team restarts automation after the issue is understood.
The automation workflow is successful when staging behavior is understood, kill switches work, first production scope is narrow, and owners can explain what will run next.
Document the owner, input context, review point, result, and rollback or follow-up path.
The operations lead should own automation rollout and revisit it after staging tests, production incidents, provider changes, or team permission changes.
Escalate when the workflow changes customers, money, published content, site settings, privacy posture, or automation behavior.
Run this workflow on a low-risk example first. Once the result is easy to review and explain, decide whether it should become a repeatable playbook, workflow, watcher, agent, or documented team process.
Next step
Review the SophMate listing for current package details, screenshots, compatibility notes, and license terms.
Related
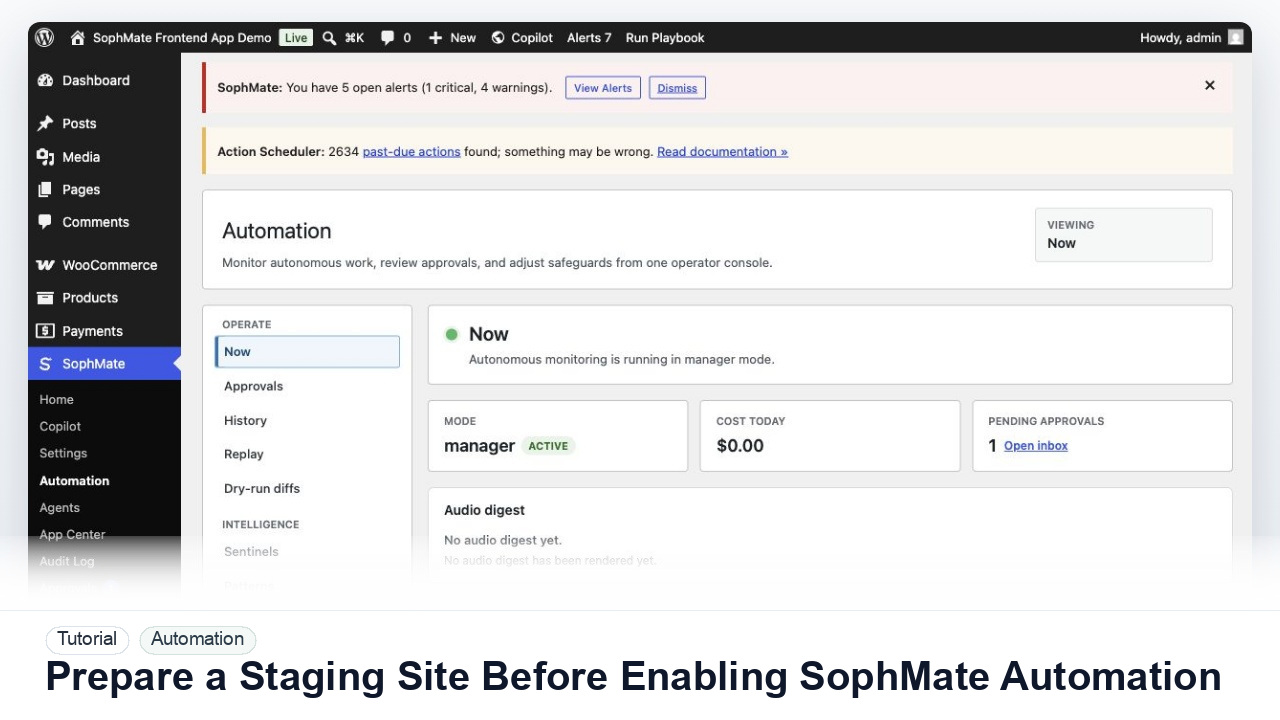
Use a staging WordPress site to test SophMate workflows, watchers, agents, approvals, and kill switches before enabling automation on production.
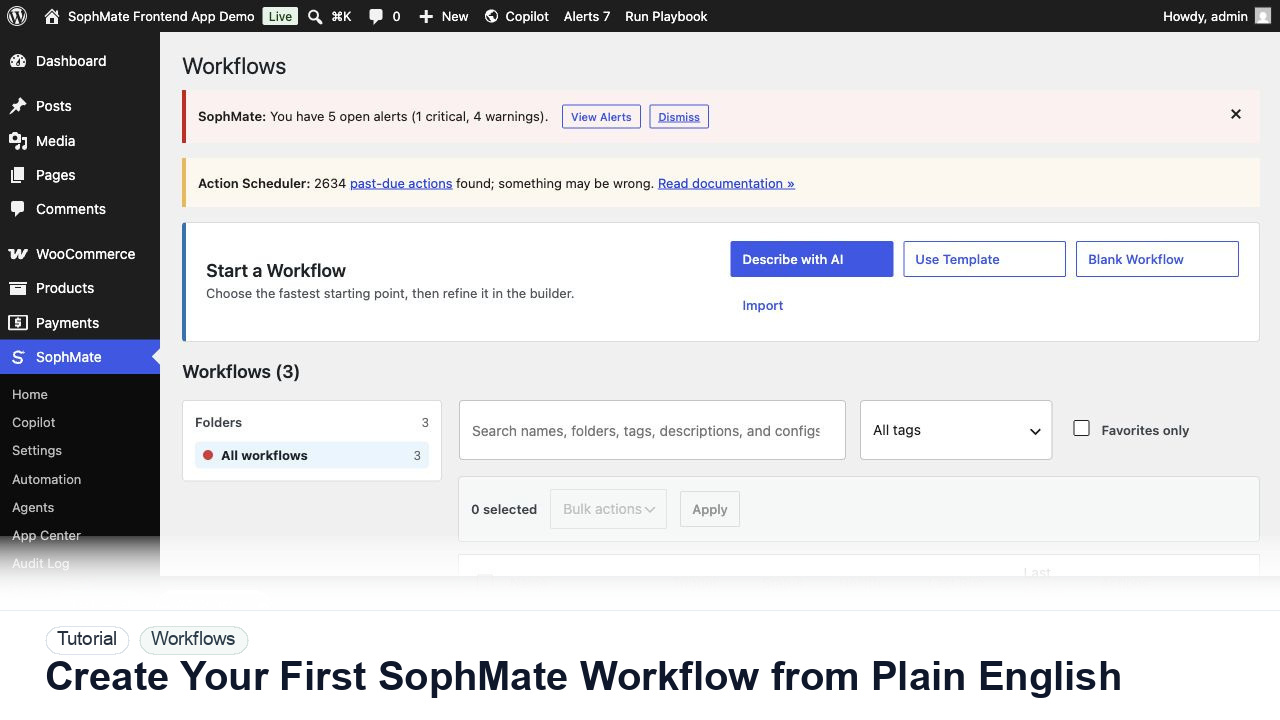
Use SophMate Workflows Describe with AI to turn a plain-English operations idea into a workflow draft with triggers, steps, and review notes.
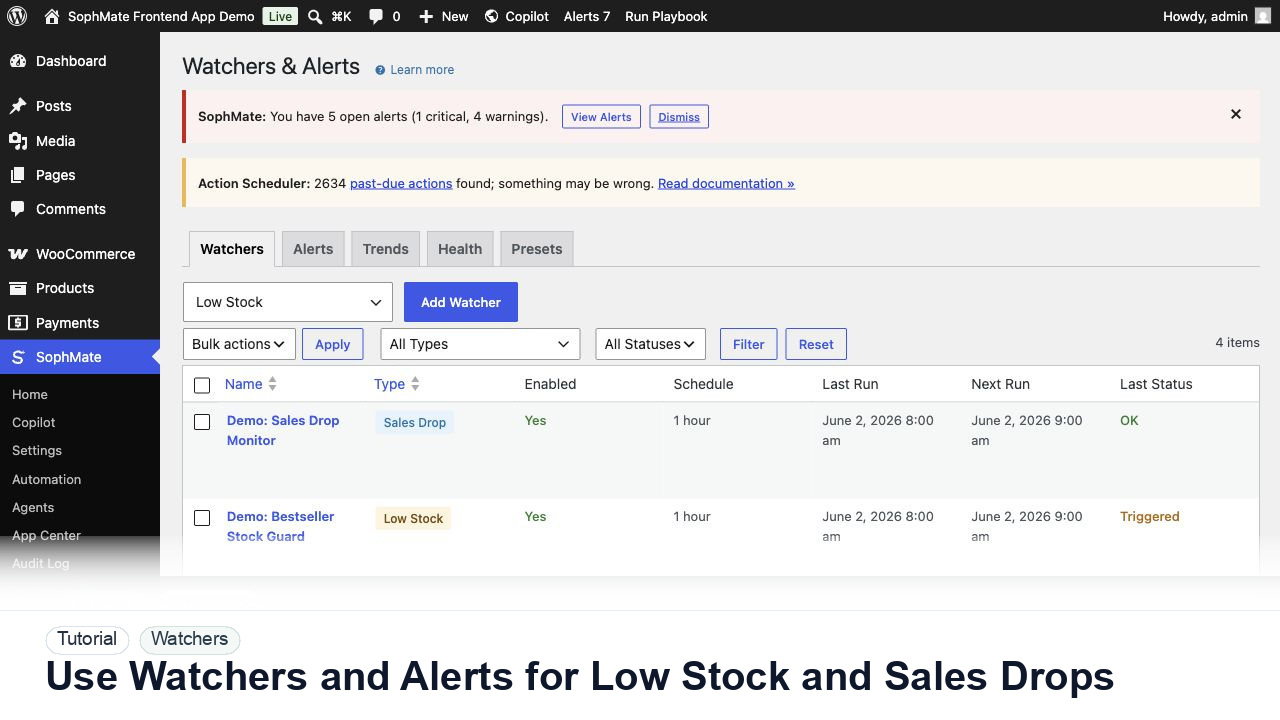
Configure SophMate Watchers for low-stock and sales-drop signals, then route alerts into the right review or workflow path.