Create an Image Studio Brand Kit and Generate Product Visuals
Create an Image Studio brand kit, write a product visual prompt, generate a draft, and keep image publishing under review.
Create an Image Studio brand kit, write a product visual prompt, generate a draft, and keep image publishing under review.
By the end of this tutorial, you will know how to use SophMate for WordPress AI image generator while keeping the work reviewable inside WordPress.
A marketer needs a seasonal product visual for a store campaign but wants the image to use approved brand colors and styling.
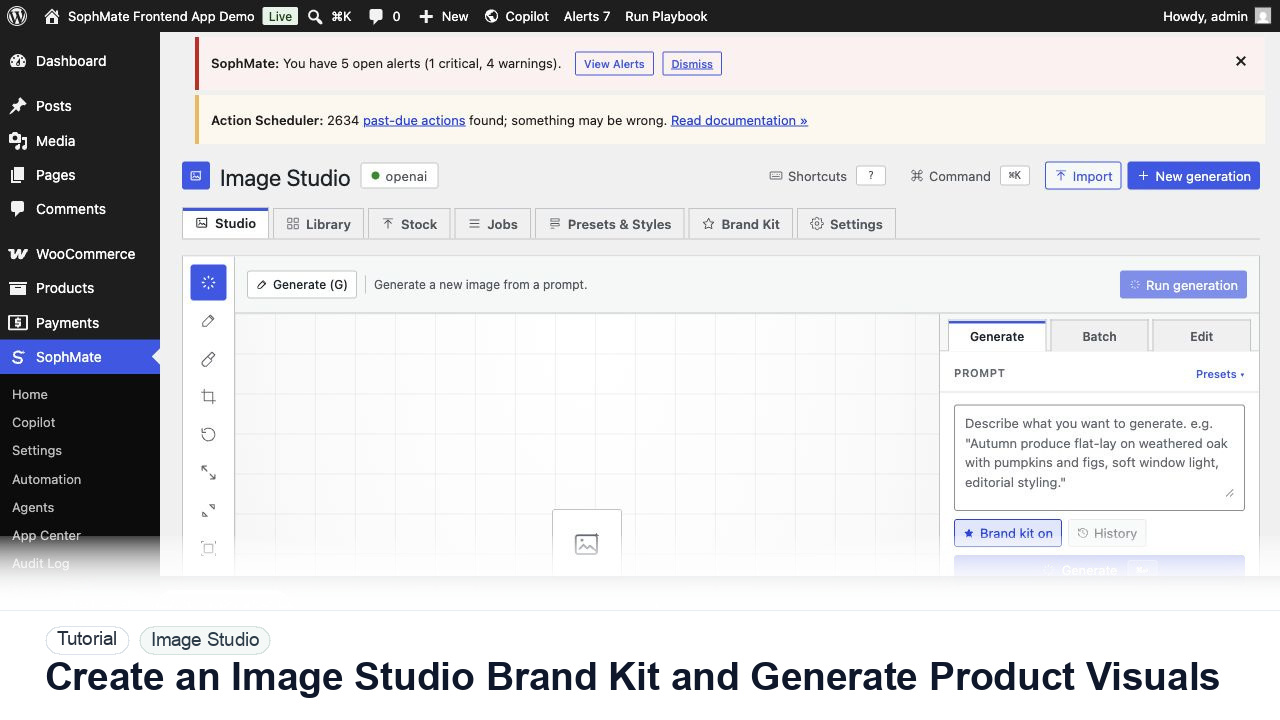
The tutorial image shows Image Studio in wp-admin so the reader can see prompt controls, brand kit context, asset review, and the handoff point before anything enters the Media Library.
Keep drafts separate from approved Media Library assets until image quality, rights, alt text, and placement are reviewed.
Use SophMate > Image Studio and confirm the provider status is healthy before starting a generation.
Add the primary and accent colors, preferred visual tone, and any banned motifs. Brand kit guidance reduces off-brand results.
Include product type, scene, aspect ratio, style, lighting, background, and usage context. Avoid asking for copyrighted brands or celebrity likenesses.
Review the draft for product fit, visual quality, policy concerns, and whether it matches the campaign offer.
Do not import every draft into the Media Library. Save the image only when the team approves it for a specific page or campaign.
The image workflow is successful when only approved assets enter the Media Library with useful metadata, clear alt text, and a known campaign or page placement.
Document prompt, brand kit, source provider or stock source, rights notes, selected asset, alt text, and intended placement before Media Library import.
A marketer or editor owns the asset decision, while the brand owner should review recurring campaign visuals and Media Library handoff rules.
Escalate when image rights, product accuracy, brand compliance, or customer-facing claims are uncertain.
Run this workflow on a low-risk example first. Once the result is easy to review and explain, decide whether it should become a repeatable playbook, workflow, watcher, agent, or documented team process.
Next step
Review the SophMate listing for current package details, screenshots, compatibility notes, and license terms.
Related

Move approved Image Studio outputs into the WordPress Media Library with metadata, alt text, and publishing intent.
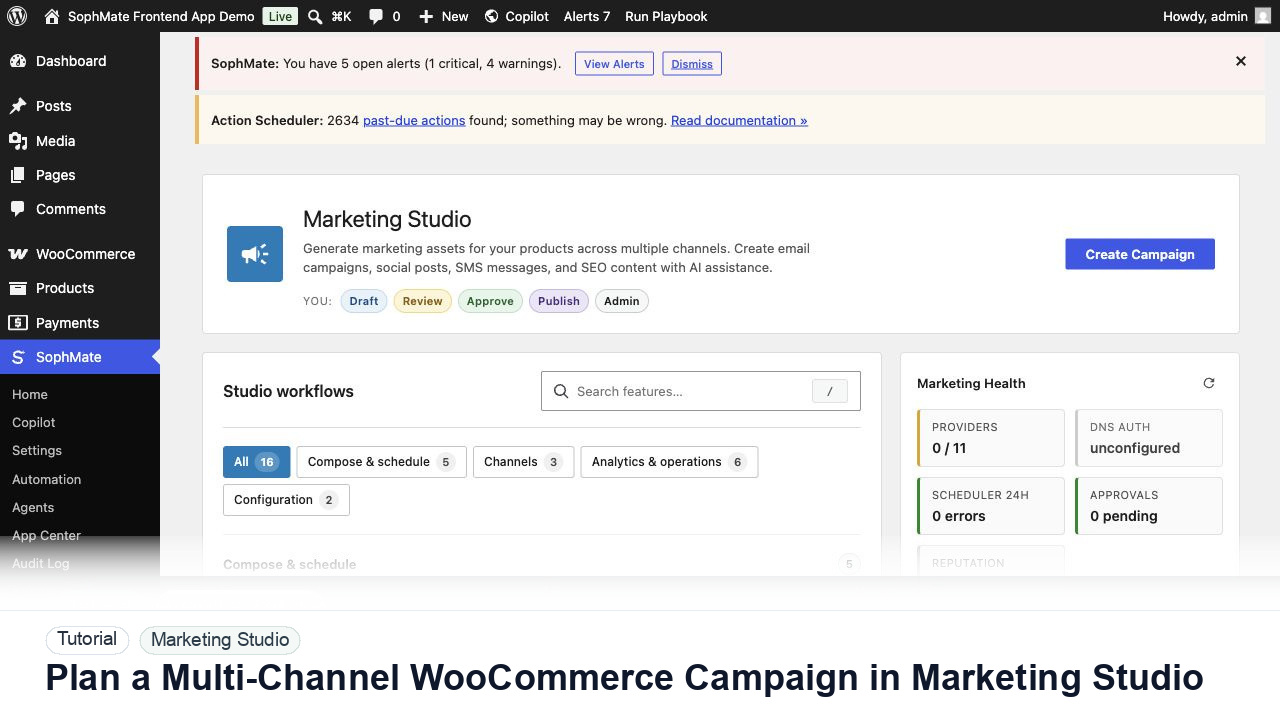
Use Marketing Studio to plan campaign goals, product context, channel drafts, provider health, review status, and next actions for WooCommerce promotions.

Create a personalization audience, assign it to a homepage slot, and keep privacy and explainability controls visible before launch.