Classify a Custom Tool Before Agents Can Use It
Review a custom SophMate tool by schema, permissions, risk level, visibility, and audit behavior before exposing it to agents or workflows.
Review a custom SophMate tool by schema, permissions, risk level, visibility, and audit behavior before exposing it to agents or workflows.
By the end of this tutorial, you will know how to use SophMate for SophMate custom tool risk classification while keeping the work reviewable inside WordPress.
A developer has added a webhook or REST-backed tool and wants agents to use it, but the operations team needs to understand what the tool can read or change.
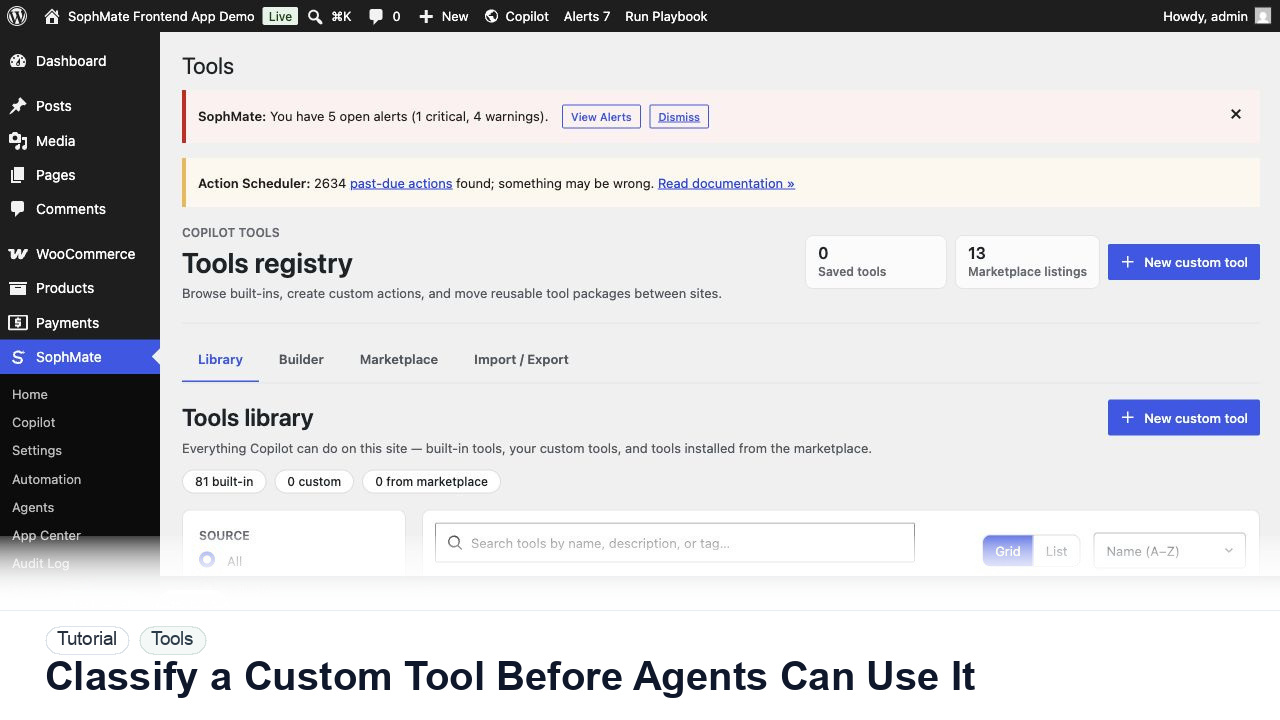
The tutorial image shows the Tools registry because custom AI capabilities should be reviewed by schema, category, visibility, and risk before agents or workflows can use them.
Do not expose custom capabilities to visitors, agents, or workflows until roles, permissions, schemas, and risk level are clear.
Review name, category, type, input schema, output shape, capability requirements, and whether the tool reads or writes WordPress data.
Mark read-only tools differently from tools that create posts, update products, send messages, change settings, or call external services.
Run controlled examples and confirm validation errors are clear. A tool that accepts vague input will produce hard-to-review agent behavior.
Expose the tool to one workflow or agent before making it broadly available. Keep high-risk tools approval-gated.
Confirm tool runs leave enough context to explain what happened without logging secrets or unnecessary personal data.
The tool workflow is successful when validation, permission checks, risk classification, sample runs, and audit records make the tool safe enough for the intended agents or workflows.
Document manifest or tool schema, permissions, data captured, risk classification, fallback behavior, and audit fields.
The developer owns schema and integration behavior, while the administrator owns permission, risk, and visitor-facing placement.
Escalate when custom capabilities read sensitive data, write WordPress records, call external services, or expose visitor-facing behavior.
Run this workflow on a low-risk example first. Once the result is easy to review and explain, decide whether it should become a repeatable playbook, workflow, watcher, agent, or documented team process.
Next step
Review the SophMate listing for current package details, screenshots, compatibility notes, and license terms.
Related
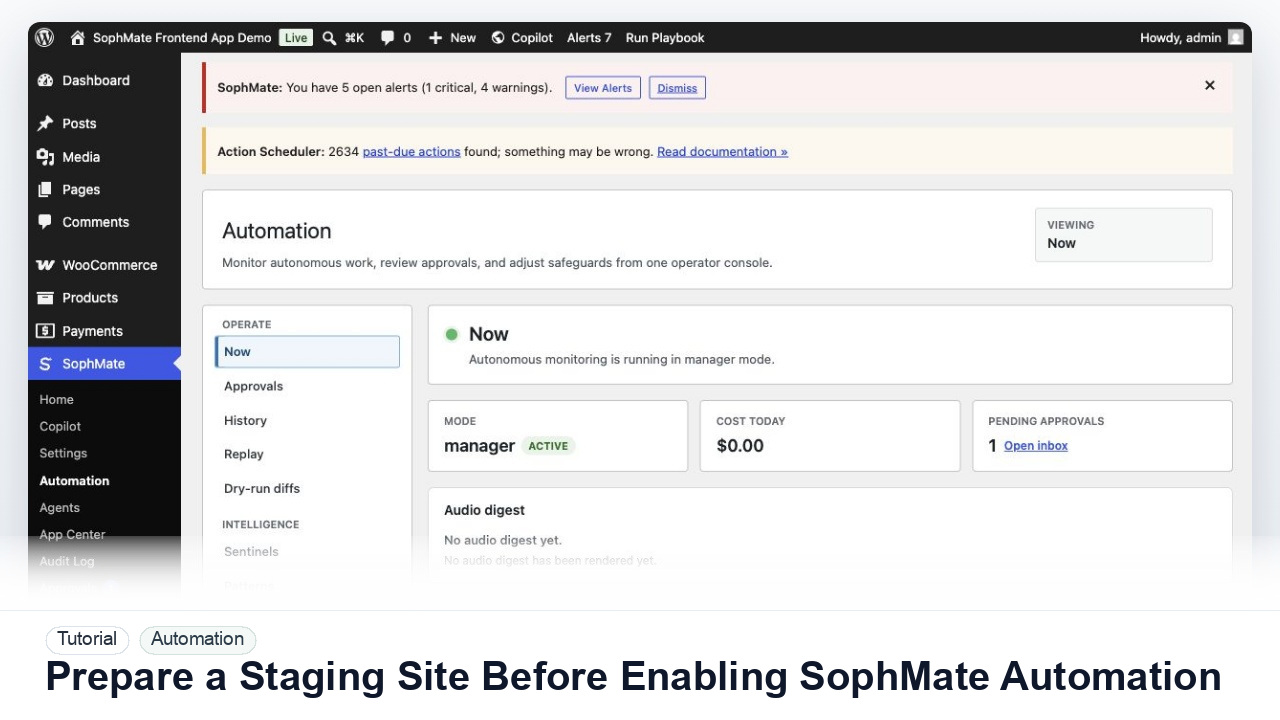
Use a staging WordPress site to test SophMate workflows, watchers, agents, approvals, and kill switches before enabling automation on production.
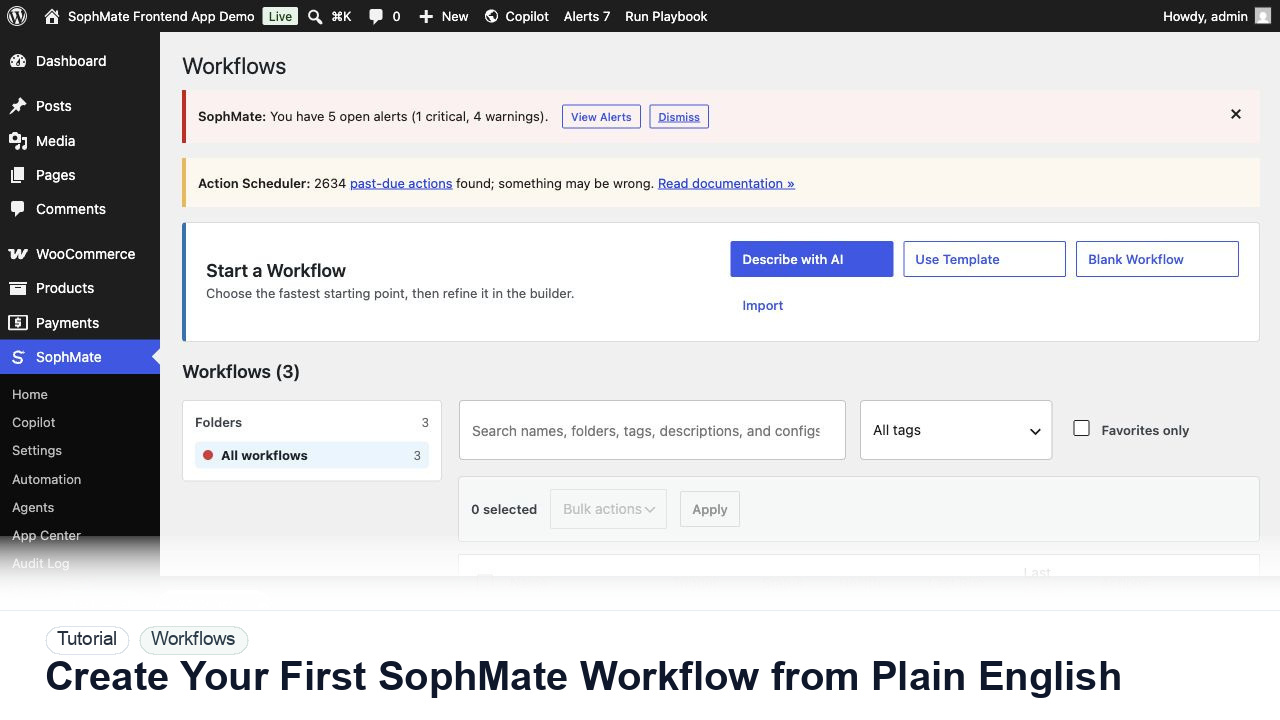
Use SophMate Workflows Describe with AI to turn a plain-English operations idea into a workflow draft with triggers, steps, and review notes.
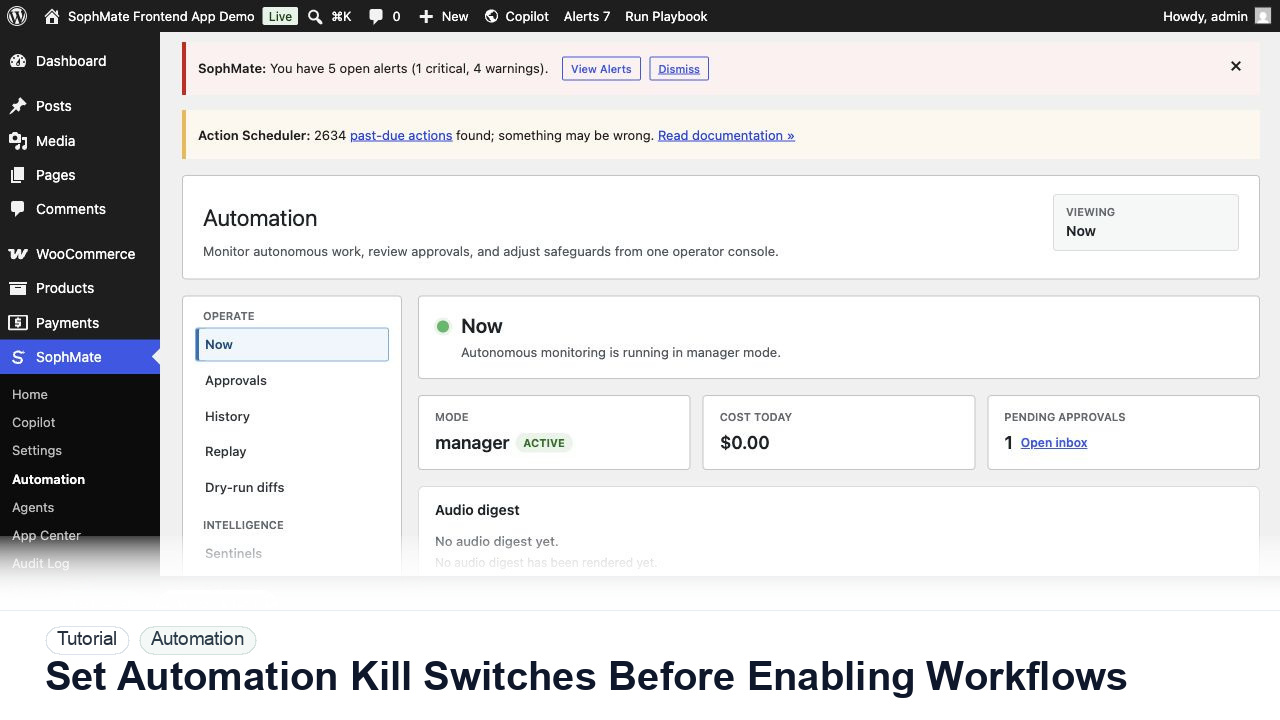
Configure SophMate automation kill switches and ownership rules before enabling workflows that can affect WooCommerce or WordPress operations.